A2A_only_project participated in the "The way of the Ace" tournament stage three (1vs1, AB) after qualifying at the 2vs2 stage (with a small Golden Eagle profit) and achieved the goal of a top 100 place (rewards: "Duelist 1vs1" title and "Duelist" decal).
This was my first tournament,. I had passed on all earlier tournaments since I joined WT in 2014 ("Normandy Aces", "Wings of Glory" et cetera) because of travels and other real life reasons.
500 players (accounts) were qualified for the 3rd stage, and by my estimate about 300-350 of them were much, much, much, much, much!!! better than what you meet in most random AB matches. They made most random match players look like shoddily coded bots even more than before! There was hardly any tolerance for mistakes - even most tiny mistakes could not be survived.
There were some bugs in the tournament, but OMG, 190-200 fps! My system usually does no more than 50-70 fps in matches.
Here's a summary:
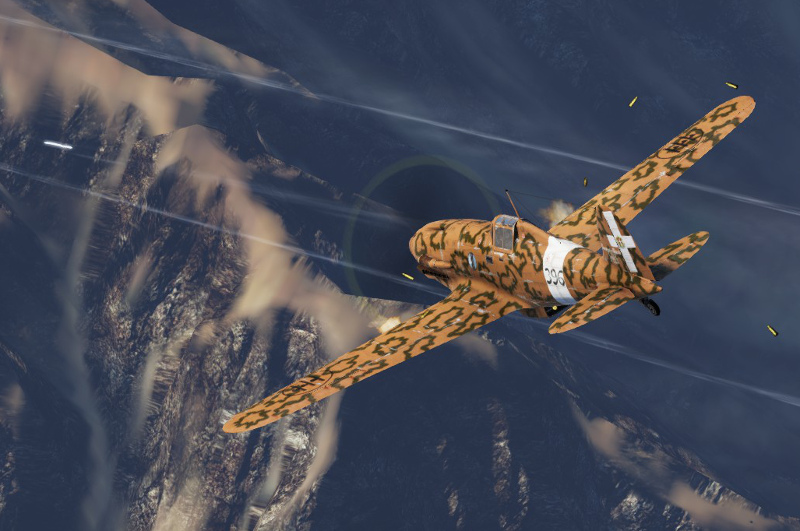
1st day: J2M2
I paid dearly trying to figure this mode out, learning much about what not to do before learning about what to do.
The J2M2 burns way too easily (same problem as in random matches), producing many rather random results.
My favourite air combat manoeuvre (ACM) was a tight loop (mostly upwards) after passing the opponent frontally. The results were inconsistent.
Finished the day in top 100.
2nd day: P-39N
Again, a day with many fires. The P-39N-0 isn't terribly prone to catch fire, but its American machinegun ammunition easily sets the target afire...
I got fixated on the occasional use of flaps in take-off setting for tighter turns, but overall the P-39 was no success either, finished the day in top 150 IIRC. Transition between steering by keyboard and steering by mouse aim for the shot was troublesome all too-often.
One interesting tactic was discovered, though:
I had stealth ammo for machineguns and used them for a surprise long range (opening fire at >1,200 m) head-on hits without firing the cannon. Switched to fire with all guns at 600-800 m only.
The cannon gives away its activity with tracers (unavoidable) and self destruct clouds (the HE shells explode after a certain distance producing a small black smoke cloud). Furthermore, the cannon makes the plane vibrate and thus the machinegun fire less accurate. This tactic worked a couple times, but didn't save the day.
Awfully many draws (both died, counted as defeat, but with hardly any rating change).
3rd day: Yak-1b
Finally admitted: I have a scissors problem. Cannot defeat anyone who's behind me in scissors, and rarely can break out of scissors by continued turning. Those who are next to me during scissors sometimes lose when I lower the landing gear, use landing flaps and reduce engine power to slow down.
Tested the Yak-1b in test flight to figure out turn times with different flap settings after I had some unpleasant turnfights. Measured horizontal 360° turns at 1,100 m beginning with 400 kph were 32.7 seconds no flaps, 34.2 seconds combat flaps and 35.2 seconds takeoff flaps. I ceased to use flaps whenever I felt the dogfight would be about energy, not about dying in the next two seconds or not.
At the end of the day I felt somewhat confident I could end inside the top 100.
4th day: Bf 109F-4
I skipped this day, since I had no interest in the tactical problem of 'gun pods for head-on strength or no gun pods for better dogfighting?'.
5th day: Spitfire Mk.Vb/trop (the ugly Spitfire)
This Spitfire is known as a capable turnfighter, but by now I was so frustrated about my scissors problem (above rating 900) that I largely avoided dogfighting by killing (or dying or both) in the head-on phase.
Ammunition: "Stealth" 7 mm + "Air targets" 20 mm (which has no tracers, but a powerful punch), 800 m or no gun convergence at all. I opened fire at greater ranges than ever before (often 1.5 km). Vibration during firing was a big issue. With 800 m gun convergence setting I attempted to first aim high and to the left or right of the target centre at first, then dead centre and below about 600 m low right or low left.
With "no" gun convergence setting I aimed to the left or right of the centre at all times (also high then mid then low), but this was only good to train discipline in aiming to the left or right, which I often forgot when concentration was low.
I still didn't figure out why aiming low was the right thing to do (even according to lead indicator) below 800 m or so.
The many draws felt like 1/3 to 1/2 of all matches because of my head-on focus with the Spitfire. Climbing from about 900 to above 1,300 rating mostly with head-on victories sure was no display of great ACM mastery, but hey, it worked!
Obviously, many opponents were not good in head-on fights.
 |
| The "Duelist" decal doesn't look nearly as cool as the Gladiator decals do! |
Guns were disabled at the beginning of every battle, so one had two choices:
(1) Fly towards enemy, avoid head-on fires and seek decision by air combat manoeuvre. I did this on the first days in about half of my matches.
(2) Avoid a contact with disabled guns by turning 90°, climb (30° dropping to 20°), then turn towards enemy.
I attempted to memorise opponent names, against whom I won or failed and how (in order to seek head-on with against more successful dogfighters and seek to avoid head-on against more successful snipers).
Head-on behaviour of opponents:
Some were able to snipe at very long range, dodge, shoot for a split second, dodge again, shoot for a split second again and kill that way; highly annoying, but not a consistent performance by any opponent.
Many of those who wanted a decision by ACM attempted to pass below me. It was valuable to remember this, so next time I could shoot at them with lead (deflection shooting) instead of expecting them to engage me directly (which required to aim at them without lead).
Best fight scene:
The head-on was non-lethal for both, some turning, suddenly he's 600 m above me and I'm almost stalling (probably used flaps too much). I decided to dive, reload, he follows almost 800 m behind while shooting with tracers. I dive behind a high cliff, use the Spitfire's landing flaps at low altitude, pull up. I didn't get killed because his 20 mm was emptied already, suddenly I feel an opportunity for an Immelmann, Immelmann succeeds, aim, kill.
This was the only time I recovered from some huge mistake. Other times I was able to recover from small mistakes at most, since in this tournament even a single small ACM mistake was most often decisive.
Lesson learned:
I need to get (much) better at scissors.
I need to learn some weird style of turning which I observed.
A 1vs1 tournament can be a pain in the ass if you know after most lost matches which of your (in)actions was the mistake that led to the defeat.
My mouse is not very good at tiny movements, which makes precise aiming in the head-on phase unreliable.
Use short breaks to recover from a string of defeats and draws!
The timing and nature of meals influences the concentration very much during long gaming sessions, especially when the soda drank in between is sugar-free.
Pilot skill appears to be rock-scissors-paper in WT AB air combat. Some players rated much lower than me were mostly able to beat me, but would have been rated much higher if they hadn't struggled against others of similar rating.
Holy moly, many "LEGA" players were encountered among the top 200. At least one of them has very poor manners (and flies way too straight in a head-on without being a good shot!), though. MAMBA and NATO were encountered much as well.
Conclusion:
I usually succeed as a tactician with sure aim who makes fights unfair in his favour before accepting them in random matches (BnZ).
Fair 1vs1 matches were a very different situation and it took a while to adapt, and I grew in skill this way.
A top 100 position (78th) amongst millions of players (and ten thousands who participated in the 2vs2 qualifying stage) was most satisfying. This original goal was met. More (top 50, maybe even top 20) can be achieved in a future 1vs1 tournament if the scissors weakness can be overcome.