Tuesday, 23 February 2016

Craziest air battle in a while


So I was flying the USMC F4U and meant to intercept bombers at about 4,000 m when I saw the most crazy thing of the day (till then):
A red Blenheim climbed up to engage a blue B-25, it even helicoptered (slowed down to a stall while still pointing its nose up)! It did indeed survive this, and kept bugging that B-25 for a whole minute as if it had no gunners.

Later that same match I saw a certain message for the very first time after thousands of matches:
"A player of your team landed on an enemy airfield and surrendered" in big white letters at the bottom of the screen.
WTF???

Oh, well, and the match was notable for another weird thing: All incoming bombers seemed to be Wellingtons, and all of them seemed to chip away a bit more of my engine, hitting no other part of my Corsair, ever.

And last but not least: Heavy AAA kept shooting at my fighter at 5,000+ metres altitude even while it got bombed by actual bombers at low level. It felt like focus fire by heavy AAA whenever I was remotely in range of it.

So much crazy stuff, I got so very much confused and distracted that I needlessly accepted two head-on fights with a Spitfire IIb (both 0-0 with minor damages due to evasive manoeuvres after my initial burst).

Tuesday, 9 February 2016

Dive toss bombing


So you spawned in a bomber (or PBJ) in an arcade ground forces battle and see no chance surviving the many red interceptors that spawned as well? I get ya, particularly the Wellington is of very little use in such a situation.

There is one tactic that may still allow you to kill red tanks in that sortie, though: Dive toss bombing.

a depiction of a real world toss bombing manoeuvre

You retract the flaps if they're lowered (which they often are for no good reason) to reduce drag. Pitch down the nose to pick up speed. Once you're fast and close enough (based on experience), you pull up again into a not too steep climb. (Side benefit: The aim of fighters will be somewhat degraded by this manoeuvre.)

There will be the bomb impact circle symbol on the ground well ahead of you. Much farther ahead than if you were flying level. Maybe it's obstructed by your plane, in which case you should switch to "F4" view.
Now preferably aim at a group of red tanks that are bunched up or depicted in a (vertical) line. Quickly drop your bombs on these.
Next, press "J" to leave you bomber ASAP and resume playing tank before your tank gets roasted. Your bomber is of no use any more.

The bombs may very well be in the air for so long (doing their whining sound) that they'll detonate instantly on impact. This means stationary tanks won't escape by driving away, which partially compensates for the inaccuracy of the hurried tossing.

It's advantageous to be a skilled War Thunder plane pilot, even in War Thunder ground forces!


(Toss bombing was originally meant to allow subsonic aircraft to deploy powerful nuclear free-fall bombs without damaging themselves too much. The tossing increases the distance and the time till explosion.
Toss bombing was also used during the Falklands War for a low risk attack of Sea Harriers against the well-defended Port Stanley airfield. It can also be used to accurately attack a target with a guided bomb, as shown in the illustration above, if only the guidance method doesn't depend on the bombing plane itself having a line of sight to the target during the bomb's terminal approach to the target.)

Template change


I changed the template to another, simple one. The old template stubbornly refused to display the blog archive and labels on the right, left or just about anywhere.

Wednesday, 3 February 2016

Inconsistent bomb effects in AB ground forces


I got used to ignore the ineffective 100 kg bombs of Il-2 and 50 or 60 kg bombs of Ju 88A-4 and D3A, but this is new:

Four 500 lbs bombs of Havoc were dropped on one StuG, super accurate.


This explosion was survived. One metre ahead at most.

Tuesday, 2 February 2016

The scissors manoeuvre


I can't recommend this video enough:


The scissors are one of the few things in WT that I didn't figure out myself how to do right.

Essentially, this allows a good Fw 190A-4 player to beat a median Spitfire IX player at low altitude even if the latter begins the fight with equal energy 600 m on the Würger's tail. Well, at least more often than not.

It was also one of the reasons for why the Fw 190A-2 demolished the Spitfire Vs back in 1941/1942 so badly (the 190 rolls much better than Spits both in reality and in WT, and this is key in the scissors).

(this illustration doesn't quite show the beginning right; the attacker starts behind the defender and approx. at same altitude and speed)

I rarely used a similar tactic in such situations in AB air; lower landing gear, landing flaps, power to 0%, move erratically - all hoping that the attacker overshoots me before killing (and without ramming) me.
Oh boy, they raped me when I tried this in the 1vs1 duel tournament. So I did attempt the scissors instead in such situations, and the result wasn't much less terrible against players rated better than 250th place.

What I hadn't understood back then was the real key to success with scissors: You want them to overshoot, but you don't want to drop more in energy than they do. This means in WT AB practice that you need to climb -unnoticed by your opponent at first- more than him. This way you store more of your equal energy in potential energy, less in kinetic energy - which means he's faster and flies past you (with the option of crashing into you).
So don't use this if he's slower and above early on, or if his plane rolls better.
When you do the scissors manoeuvre do roll at about the same time as him, but always try to climb a bit more. With really, really well-rolling planes you may minimise your silhouette when he gets a snap shot at you (by rolling such that he doesn't have your wings as hit area except in front of your fuselage).

Tuesday, 26 January 2016

Air combat tactic for air domination (propeller planes)


Air domination used to be a very, very difficult mode to win even for a full squad of good players when it was new, but nowadays it's at approximately BR 4.7-6.0  likely the easiest-to-win match mode for good players. The reasons are the simplicity (no conflicting tactics of base or ground forces bombing) and in the poor tactical behaviour of most red players. Even poor red players are a major threat to most well-flown bombers, but little threat to a good fighter tactician.


First thing to do in an air domination match is to violate rule #1 of War Thunder: "Do not trust in blue players". This bites back at times, but usually it's a successful bet in this particular case. Trust them to avoid a red capture of the objective at the beginning of the match, do not fly towards A. Alternatively, detach but one squad member to prevent a capture (by climbing towards the objective).

Capture is typically possible only at 800-4,700 m altitude (3,000-15,000 ft) in air domination.

Instead, turn 90° to the left or right (preferably towards the sun) and climb at optimum climb rate (usually 20-25° in "F4" view, above 4,000 m /13,000 ft usually 15-20° with WEP. Climb to a commanding height (ideally 2.5 km / 9,000 ft above the reds at A) before you enter air combat. I usually turn towards A no sooner than at 4 km altitude. 

Then always keep situational awareness; distances to reds, counter-climb when they try to attack from above (rope-a-dope; climb till they stall or give up, then dive down to attack them) and avoid becoming too slow (your energy state = potential energy + kinetic energy!). You may then boom 'n zoom (dive, kill, race away or climb again directly) to kill. Prefer targets neither too low nor showing awareness of your threat. The Fw 190A-4 is an ideal plane for this, but I-185, P-63 and particularly P-47 are just fine examples as well. Planes with less firepower, high drag (I-153, A6M etc.) or poor climb rate at medium altitudes are not as good. Your plane should also be deterring; a P-38 or Bf 109F-4 may be easily able to boom and zoom against targets, but red players don't respect such planes and will climb to engage. Sooner or later, this may cause trouble, as you lose energy during every BnZ attack.

Self-discipline is key, for overly aggressive players will waste a lot of energy in BnZ against low-flying red planes and may even find themselves vulnerable to the red furball sooner or later. You should also avoid turning much during BnZ attacks; a historical rule of thumb was to avoid turns greater than 90°. You better abort your attack and climb to safety instead of turning more! The more you turn, the more energy you bleed, and the less likely you will be able to climb to safety afterwards (that's what the proposed 2.5 km altitude advantage is for).

You can also combine BnZ and rope-a-dope in a pair of fighters, particularly if you both use voice chat (War Thunder's or a client like Teamspeak): One squad member counter-climbs when a red climbs for an attack, and while said red player is still focused on him another squad player does a BnZ attack on him from outside his field of view. This yields either a lot of kills or discourages red players from climbing for a challenge, leaving you BnZ attacks on unsuspecting reds below.

You will notice that red players begin to respawn in less capable planes later in the match. You will have missed the bombers among the original spawns (players who didn't pay attention and expected ground strike, I suppose) during your initial climb, but most bomber spawns (save for B-25 and PBJ types) will be around the end of the match - easy kills if you're still ready to kill that late!


It is possible to dominate in an air domination match with a feeling of near-invulnerability in a fast plane, particularly with support from squad mates. This merely takes the right tactic (and absence of major bad luck). One could have expected War Thunder players to be particularly tough opponents in air domination, since nothing but fighters makes sense in there, but the reds (and blues) keep derping, so it's actually an easier mode than ground strike (once ground strike becomes complicated due to heavy bombers at about BR 4.7).

Now do me a favour and forget all this once you see my name (A2A_only_project) in red in an air domination match! In that case, you should preferably stay at fighter spawn altitude and cruise in circles without looking up. Or spawn in a bomber and stay at bomber spawn altitude.
Thanks in advance.


P.S.: "zoom" in "boom 'n zoom" describes the climb phase, not the dive!

Sunday, 24 January 2016

This is why SPAAGs are so unrealistically lethal AAA in ground forces:


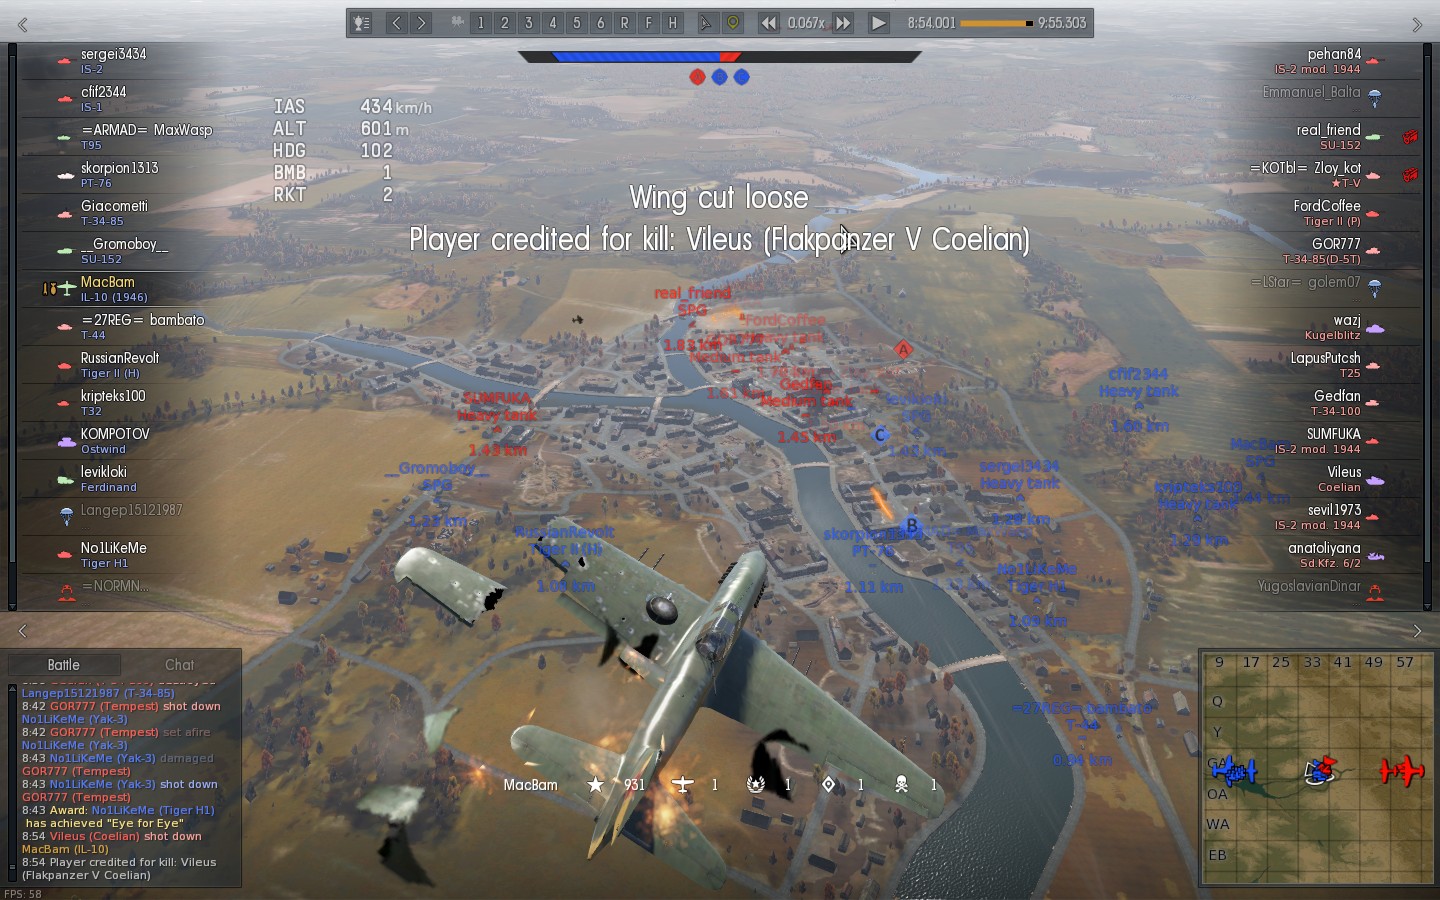
They don't need to hit to kill a plane.
They only need to come close!


His first salvo clearly missed, his corrected second salvo hasn't even arrived, but he scored a kill already - by destroying the wing on the far side!